- Google Domains Dynamic DNS
- Let’s Encrypt SSL certificate setup with auto-renewal
- With modernized ASP.NET Core
- Perfectly working as Blog or API backend
There are a number of choices for hosting a web server at home as mentioned in my previous story here. I realized that I did not go through all the steps for Windows within the story, just covered Linux. This is a following up story for Windows IIS, especially for ‘new’ ASP.NET Core. However, the most part also works as a general guide for hosting Internet Information Service (IIS) in a realistic way with your home Internet.
Unlike traditional ASP.NET, ASP.NET Core is a cross-platform, modernized open-source, cloud-friendly web service framework. I’m going to share the steps that I had gone through to install and host the ASP.NET Core website running on IIS. If you find better ways or any suggestions, please make any comments I’ll update on that.
For using IIS, we need Windows 10 Professional or Windows Server. IIS has built-in features that you can host as many websites as you want by the binding of distinctive host headers, without installing proxy or others. And, LetsEncrypt SSL certificate installation and renewal also can be automated. Once, you follow the steps and if you have decent speed at home, your websites will be just like paid hosting.
Basic IIS Installation
In the first step, we need to install IIS (obviously) with minimum requirements. As you may already know, IIS is not installed by default, click start menu, then type ‘windows features’.
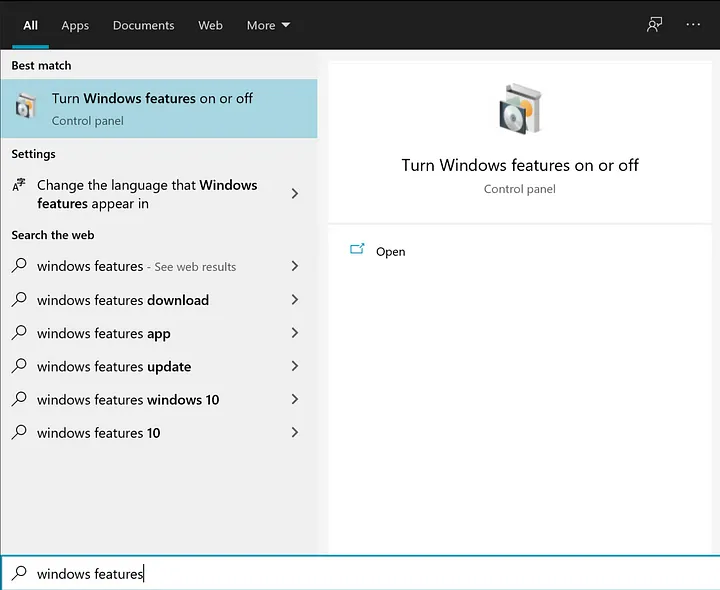
Then select ‘Turn Windows features on or off’ at the top of the menu. Then check the Internet Information Service.
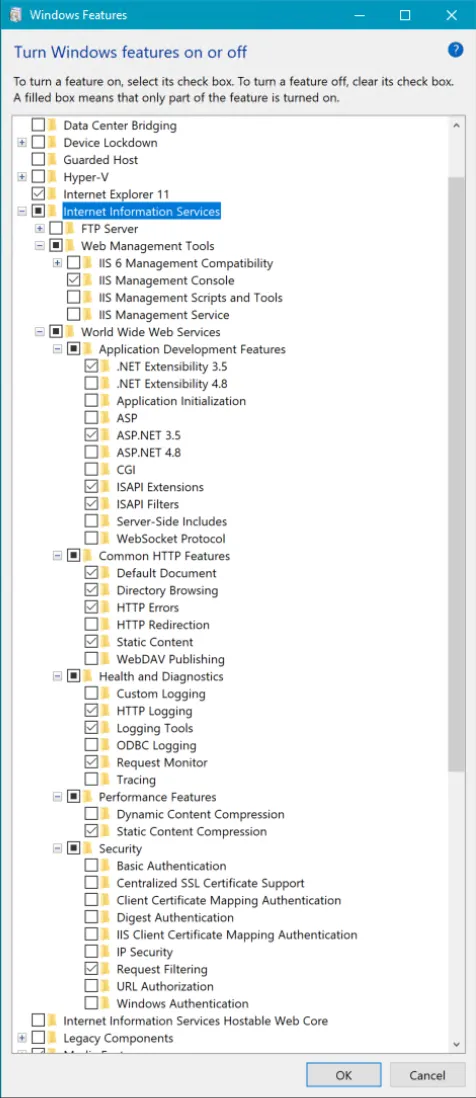
If you see some difference in the selection on Internet Information Service, check as shown in the above (some of them may not be necessary depending on how you want to use your websites). Then click ‘OK’.
Set up your website from IIS Manager
Next, we want to set up the web server as shown below, which requires the ASP.NET Core Module installation.

-
Run IIS Manager setup, click your computer name, and ‘Sites’, stop ‘Default Web Site’, otherwise you will see meaningless Microsoft default webpage whoever connects to your IP address.
-
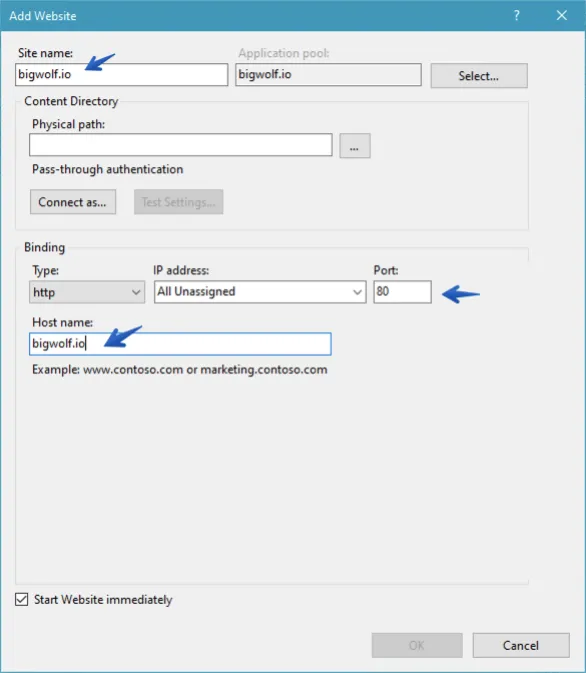
Add your website by right click on ‘Sites’. If your domain name is ‘bigwolf. io’, it is recommended to have the exact same name in the ‘Site name:’ field for easier management in case you have multiple websites later. If you want to host your website with a specific port other than standard port 80, change the port number as well.
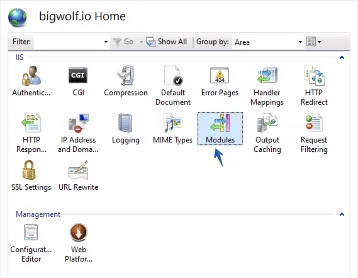
- Install the ASP.NET Core Hosting Bundle, by the time I’m writing the story, the 3.1 would be the latest here, you can get latest if you see an updated version. Once you installed the module, select ‘Modules’, ‘AspNetCoreModuleV2’ should be in the list of modules.

- Run your website by clicking ‘Play’ button like icon on the right side.
If you are plan to use default HTTP (80) and HTTPS (443) port, please skip the following two steps.
- Search ‘Windows Firewall with Advanced Security’ from Start Menu, then run it. Setup In-bound rule for your port (i.e. HTTP 5000, HTTPS 5001 port)
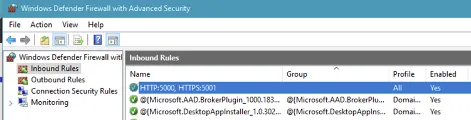
- Configure ‘port forwarding’ on your network router (This step may vary depending on your Internet service provider or network and your router, you might want to google around to find relevant information for your router). In here, just as an example, use port 5000 instead of standard 80, you will need to forward incoming port 80 into 5000. Same for HTTPS incoming standard HTTPS 443 would need to forward into another port like 5001.
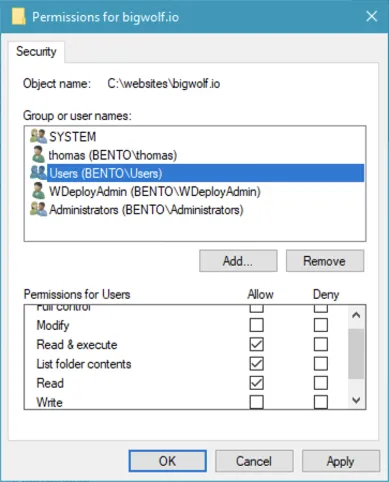
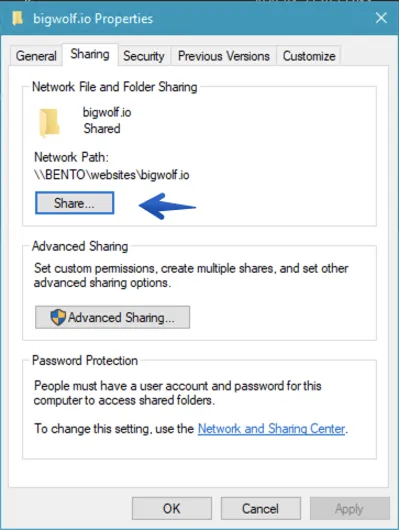
The following two steps are for setting up the permissions to access the folder in order to publish the website contents from your local shared network. You can also skip the following two steps if you can publish your website from the same computer.
- Website folder permission (add ‘Users’ permission)
- Create a shared folder for website root (this is for uploading contents from the local network, or publish from a different computer in your local network)
Dynamic DNS service using Google Domains
If you do not want to host your web server with your domain name, you can skip this step. Or, if you have a different domain server provider (like godaddy.com, please follow their references, I found Google Domains are cleaner and easier than any other domain registrars)
Since you are using home Internet, your ISP does not give you a dedicated ‘public’ IP address for you unless you have a special contract with your ISP. Your IP address will be changed from time to time however, a domain name binds into a specific (fixed) IP address, but by setting up Dynamic DNS (DDNS), when your ‘public’ IP address is getting updated, it will also be applied to your DNS entry automatically. So, anyone type ‘bigwolf.io’ from a web browser, they can reach to your website on your computer.
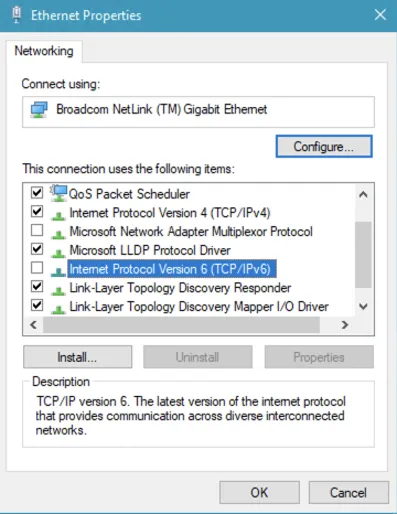
- First, disable IP version 6 from your Network Adapter (this will prevent your Dynamic DNS host from being mapped to an AAAA record by IP v6 address (just to provide reasons for those of who want to know further, no need to understand it for everyone)
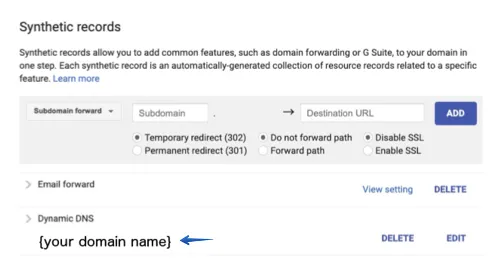
- Create a Dynamic DNS host entry from Google Domains
-
Then under your newly created Dynamic DNS record, you can find your username and password, which is generated by Google.
-
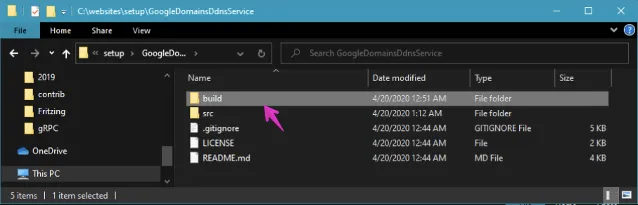
Download ‘Dynamic DNS Updater for Google Domains’ in here, take the build folder (or compile the source code if you want to review the code as well)
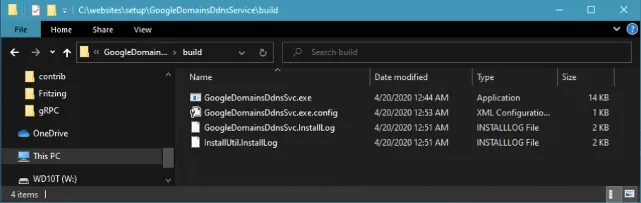
- Modify ‘GoogleDomainsDdnsSvc.exe.config’ file to match your website and use your Google Domain username, password from the Google Dynamic DNS entry that we got earlier.

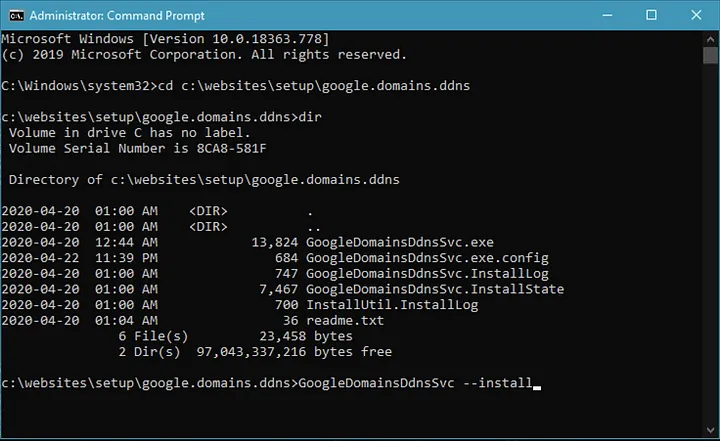
- Open a command prompt as administrator

- Go to the folder that your GoogleDomainsDdnsSvc.exe is located, type ‘GoogleDomainsDdnsSvc.exe –install’ to install it.
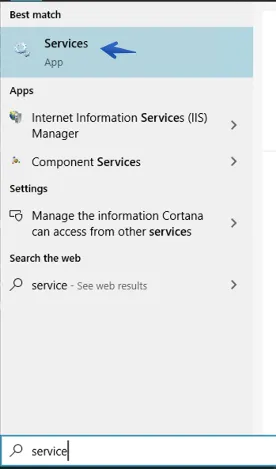
- Open Windows Service Manager by typing ‘service’ from the Start menu
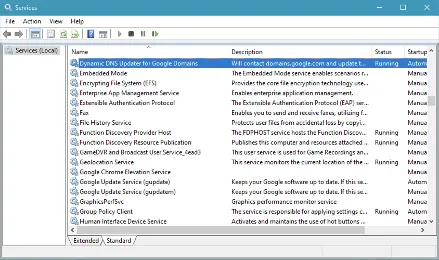
- Start ‘Dynamic DNS Updater for Google Domains’ Service from Windows Service Manager
- Finally, go to Google Domains to check the Dynamic DNS host IP address is updated, this may take 5 minutes.
- Check your domain URL from a web browser (type http://bigwolf.io), if you see your website contents are shown, that is it.
LetsEncrypt SSL Certificate Setup
We are ‘almost’ done. In the final step, you might want to have your valid SSL certificate for your website for ‘free’ and ‘forever’. Having a genuine SSL certificate makes your website looks more trustworthy and professional.
- Download win-acme (LetsEncrypt ACME protocol client for Windows) from the website, unzip the file to a folder.
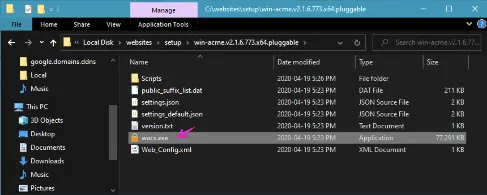
- Run “wacs.exe”, select to choose options for your website in each step
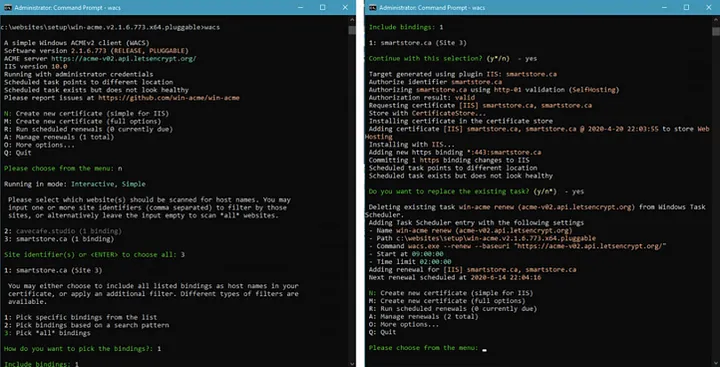
WACS will perform the followings automatically:
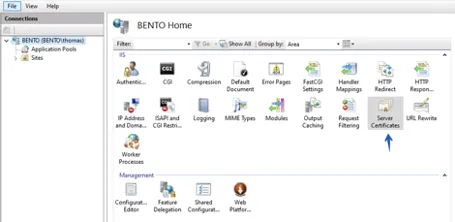
- Create a LetsEncrypt SSL certificate for your website, put it in Windows key store then bind it into your website. You can verify your SSL certificate for your domain is generated and stored in Windows by clicking ‘Server Certificates’.
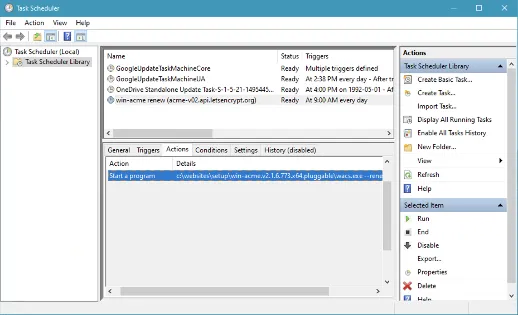
- Set the Windows Task Scheduler to renew your certificate automatically when it is about to expire (actually, it checks renewal every day 9:00 AM by default)
You are all set!
All the above steps give you so much freedom to host an ASP.NET Core project into your home web server, not only one website, as many as you want. Your website supports HTTPS as well for free. No one charges you a fee for renewing the SSL certificate. It will automatically renew your certificate for you forever. You can host any API services or FTP, etc. as many as you want.
Note: Some Internet service providers or contracts may not allow you to host your own server, please check their terms and conditions.